How did this all happen?
I have been wanting to roast a whole pig for quite some time; until my birthday this past Sunday, I had never roasted a whole pig. While living in Sámara, Costa Rica, recently, I was inquiring with my friend, Canuche about BBQ and whether whole pigs are prepared here. Turns out they do happen from time to time, but more importantly, he too had been wanting to roast a whole pig. He had participated in a pig roast previously, but he hadn't been the lead on hosting and preparing the whole pig. We set out together to make our first time roasting a pig with a lot of research, planning and preparation.
We studied and met to discuss our plans numerous times over the preceding month. We considered different cooking methods, sauces, sizes and everything else in between. A couple weeks before the pig roast we took a trip with a friend to a nearby town and met a kind farmer, who had several pigs. We met the family, the pigs, crossed over army ants along the way and struck a deal on a young growing little white pig.
In the interceding weeks we finished our plans, ordered up all the materials, had a rack fabricated, and got started by picking up the pig a couple days before the roast. What follows is the outline of the steps for hosting our first joint Fiesta de Chancho.
I woke up at 4.30am, and I rode my bike past my favorite field lined with palm-trees, the ocean, a sky full of stars, and the first glimmers of day-break. We started the morning with some strong coffee. The second cup had a healthy pour of Bulleit Bourbon. I spent my 37th birthday tending a fire and roasting my first whole pig for 10 hours. When I took that initial bite of slow roasted bacon I got weak in the knees. It was everything I imagined it could have been. I drank beer with my legs cooling off in the river and laughed the whole day with my loving family as well as good friends new and newer.
I would like to shout out especially to my dear friends, Canuche and Mercy, for their partnership and hosting us at their hotel, Villas Espavel.
Here are a complete set of the photos from the pig roast in case you're interested.
Timeline
Pick up pig, Friday AMClean and Brine, Friday AM
Pig drying/salting/dry rub Sunday 5 AM
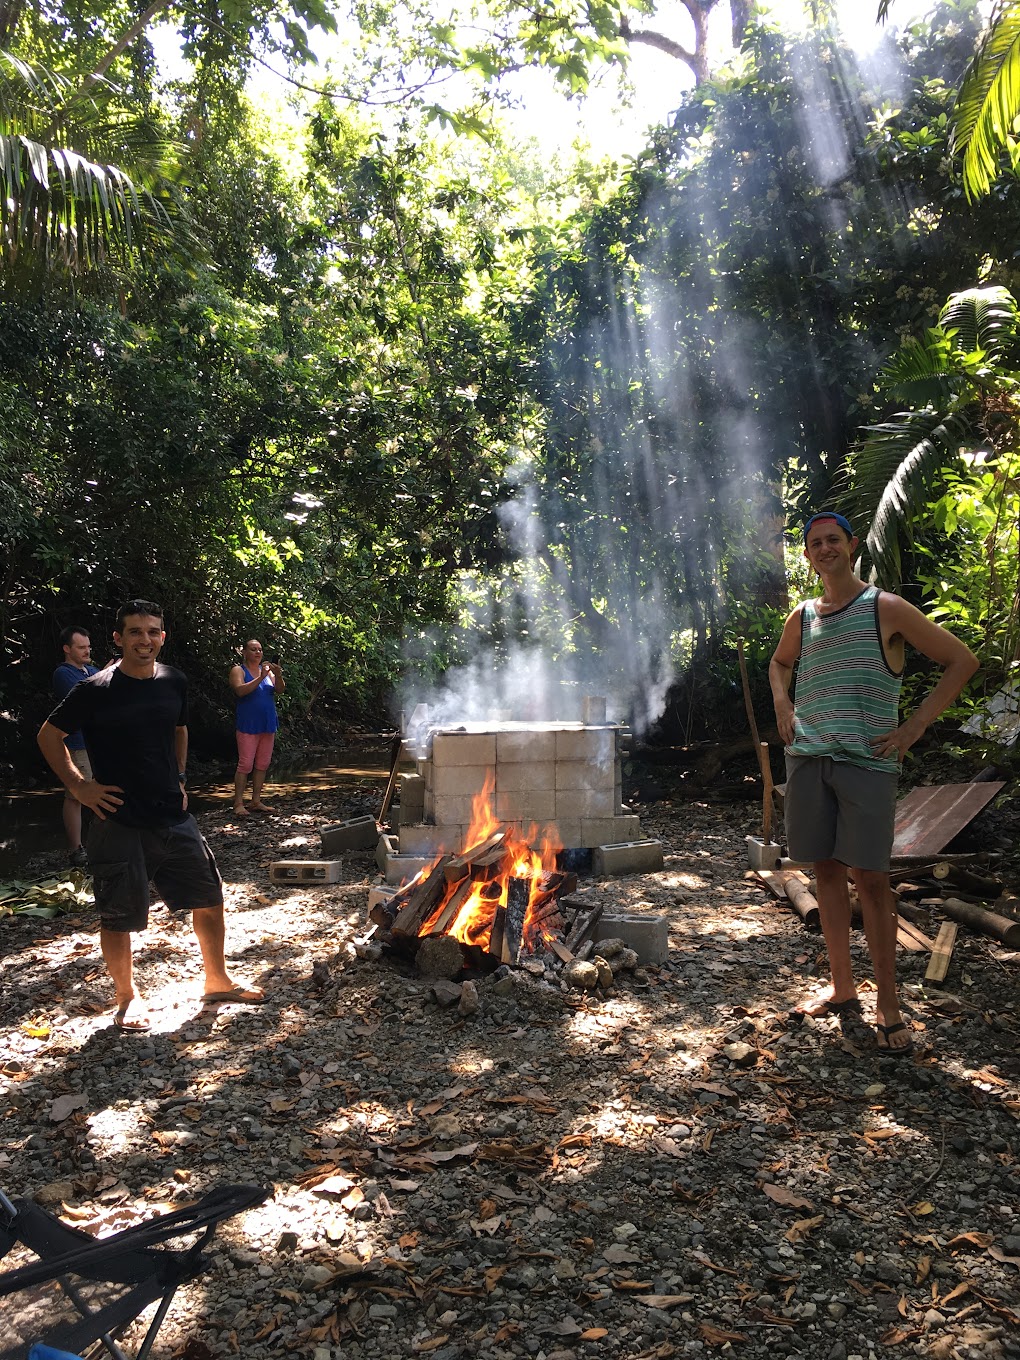
Fire, Sunday 5 AM
Cooking at 7AM PIG ON!
Flip pig 10.30AM
Take pig off, 2.45PM
Oven Design and Materials
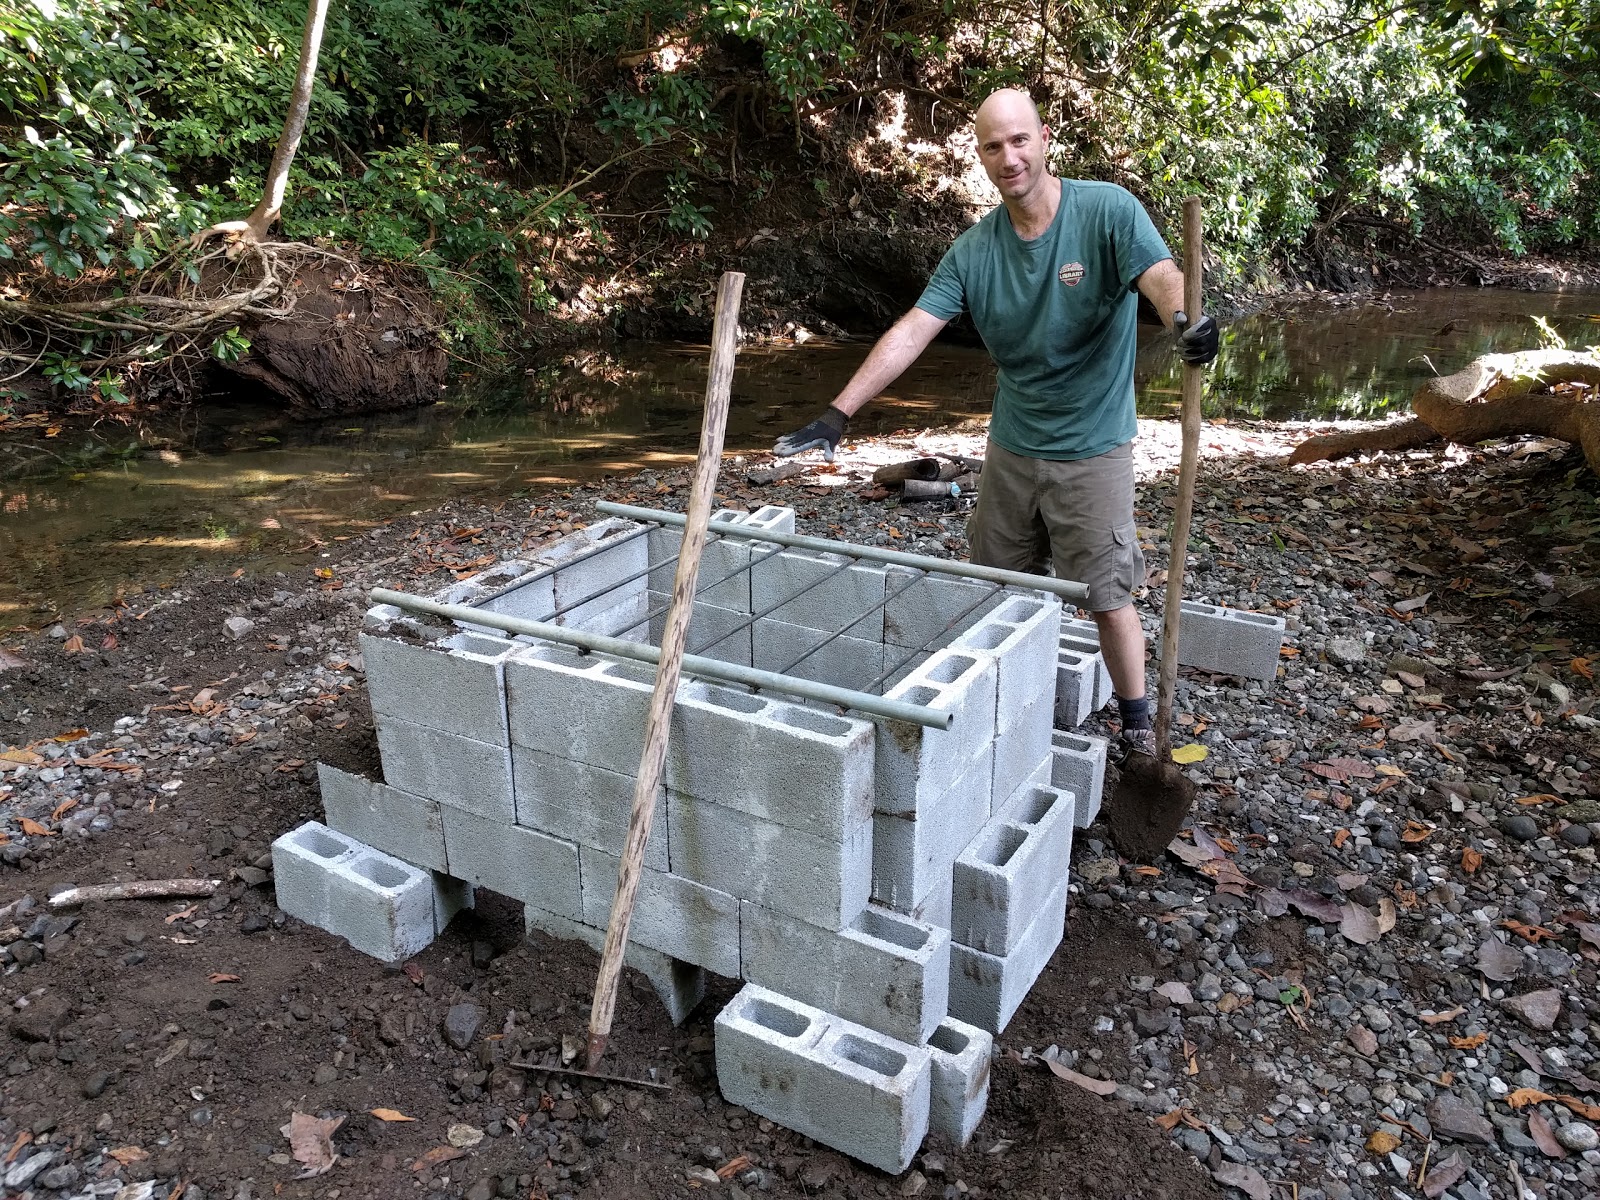
We tossed around ideas of oven, pit, in-ground with stones, rotisserie and others. Ultimately, we landed on a simple cinder block design with a separate charcoal fire. The oven had two entries where coals could be added to the oven for easy access under the shoulders and the hams allowing us control the internal temperature primarily. We liked this design because it allowed us to cook the meatiest parts of the pig while not overdoing the tender sirloins.When we assembled the oven it was slightly wobbly, so instead of sticking strictly to our design we widened the second layer to four bricks for stability. Additionally, we filled some of the cinderblocks with wood and earth for stability. It added to the oven mass a bit, but little comparatively to the weight of the bricks.
Dimensions
In total we used about 65 cinderblocks2 cinder blocks wide by 3-4 cinder blocks long (~3’x5’)
4 layers high for base + rack w/one more layer before the sheet metal top
Our rack was not built exactly to spec, so we had to break a couple blocks to shorten them just a tad for the top layer of bricks; not ideal but it worked fine.
Source for the design: Whole Hog | BBQ with Franklin | PBS Food (jump to 2:54)
How ours turned out:
Rack for Pig
We went with a custom fabricated rack, which sandwiched the pig. The idea was to bind the pig to the rack and cinch the two sides of the rack together tightly to ensure it was easy to flip and that we wouldn't lose any of the pig as it got really tender towards the end of the cook. Additionally, it was designed with the oven in mind, so that we could neatly add the pig atop the oven, and add one more single layer of blocks with a roof.Source for the design: Pig Roast How-To! - Part 2... (YouTube)
How ours turned out:

Fuel
Post construction at Villas Espavel there was a large stack of miscellaneous wood, plenty enough for 18+ hours of charcoal (only a small portion of the wood supply is shown below). The original plan was to cook the bigger pig for 18 hours over a 200-225 F fire.
Preparing the charcoal
We built a charcoal oven, which we kept burning tall throughout the cook, and with a handy spare iron window security grate the coals neatly fell through, and we shoveled them into the oven as needed.
Preparing the Pig Part 1
Crack the spine with a hatchet/axe and hammer all the way down in order to fully butterfly the pig
Prep the interior -- trim out the extra fat and pull the membrane off the back of the ribs

Wash the pig on both sides and be sure to scrub off all dirt and excess hair

Brine
Recipe
Base:4 Gallons of Water
1 Gallon Apple Cider Vinegar
2 Cups Kosher Salt
Aromatics:
Apples
Onions
Garlic
Rosemary
Thyme
Sage
Source for the recipe: Whole Hog | BBQ with Franklin | PBS Food
Inject the shoulders and hams with brine

Submerge the pig in the remaining base and add all the aromatics:

Preparing the Pig Part 2

Rub the interior (we used a Pepper, Paprika, Cumin, Garlic Powder, and Onion Powder mixture)

Flip and rub down the entire skin with salt

Dry out the skin with fans, remove wet salt and reapply; all the while bringing the pig up to room-temperature 30 minutes or more
Mop Sauce
We found a Mop Sauce with my grandmother's name, and additionally it had that Austin, TX vinegar flavor profile we were looking for!Merle's Mop Sauce
1 cup vinegar; cider or wine5 tablespoons Worcestershire sauce
2/3 cup salad oil
3 tablespoons butter
1 each lemon; thinly sliced
3 each cloves; crushed
2 tablespoons ginger; grated
2 tablespoons dry mustard
Combine all ingredients in a saucepan and heat until flavors are nicely blended. Use to baste any meat or poultry.
Source: BBQ-Porch by Carey Starzinger

BBQ Sauce to serve with pulled meat
Espresso Barbecue Sauce
1 1/2 cups ketchup1/2 cup white vinegar
1/2 cup cider vinegar
1/4 cup dark soy sauce
1 tablespoon garlic powder
1 tablespoon onion powder
1/4 cup brown sugar
3 tablespoons (1 1/2 ounces) freshly pulled espresso
Brisket drippings, for flavoring
Mix the ketchup, both vinegars, the soy sauce, garlic and onion powders, and sugar together in a saucepan and bring to a simmer over medium heat, stirring occasionally. Remove from the heat, stir in the espresso, and then add the brisket drippings to taste. Let cool, then transfer to a jar, bottle, squeeze bottle, or however you want to store it. Store in the refrigerator for up to 2 weeks.
Source: Aaron Franklin
Cooking Method
Based on what we learned from BBQ with Franklin our goal was to get the pig butts to an internal temperature of 203° F and the hams to 185-190° F. To do this we wanted the fire under the shoulder butts to be 220° F and under the hams 215° F. Given our first attempt we decided to aim for a universal 225° F oven temperature and if time ran short, we would raise the temperature up to 250° F to finish the pig.How did it actually happen with the oven? It took us well over 90 minutes to get the oven up to temperature, and that put a pinch on our cook time. As we ran long on our cook we settled for hitting 185° F internal temperature front and back, which was cooked enough, but we would have liked to get a bit hotter.
After the pig had cooked the first three hours skin side up, we mopped the skin, flipped it, and mopped the interior. Thereafter we mopped the pig interior every 40 minutes or so til done.

Pulling the meat
We let the pig setup 15 minutes after pulling it from the oven. We separated out all the bones, gathered up all the meat, shredded it and chopped some that was slightly tougher. Then, we mixed in a substantial amount of the skin that was crispy and delicious.
3 comments:
MMMM...What a wonderful way to spend your birthday! I read the blog at 8:30 AM and it still made my mouth water.
Happy Birthday. Hope you guys are enjoying life. Sure looks like you are. :)
That looks delicious!
J.H. Sent this to me. Freaking awesome!! Like, Holy Cow, that's amazing. How do you guys have such an awesome group of friends out there?
Post a Comment